
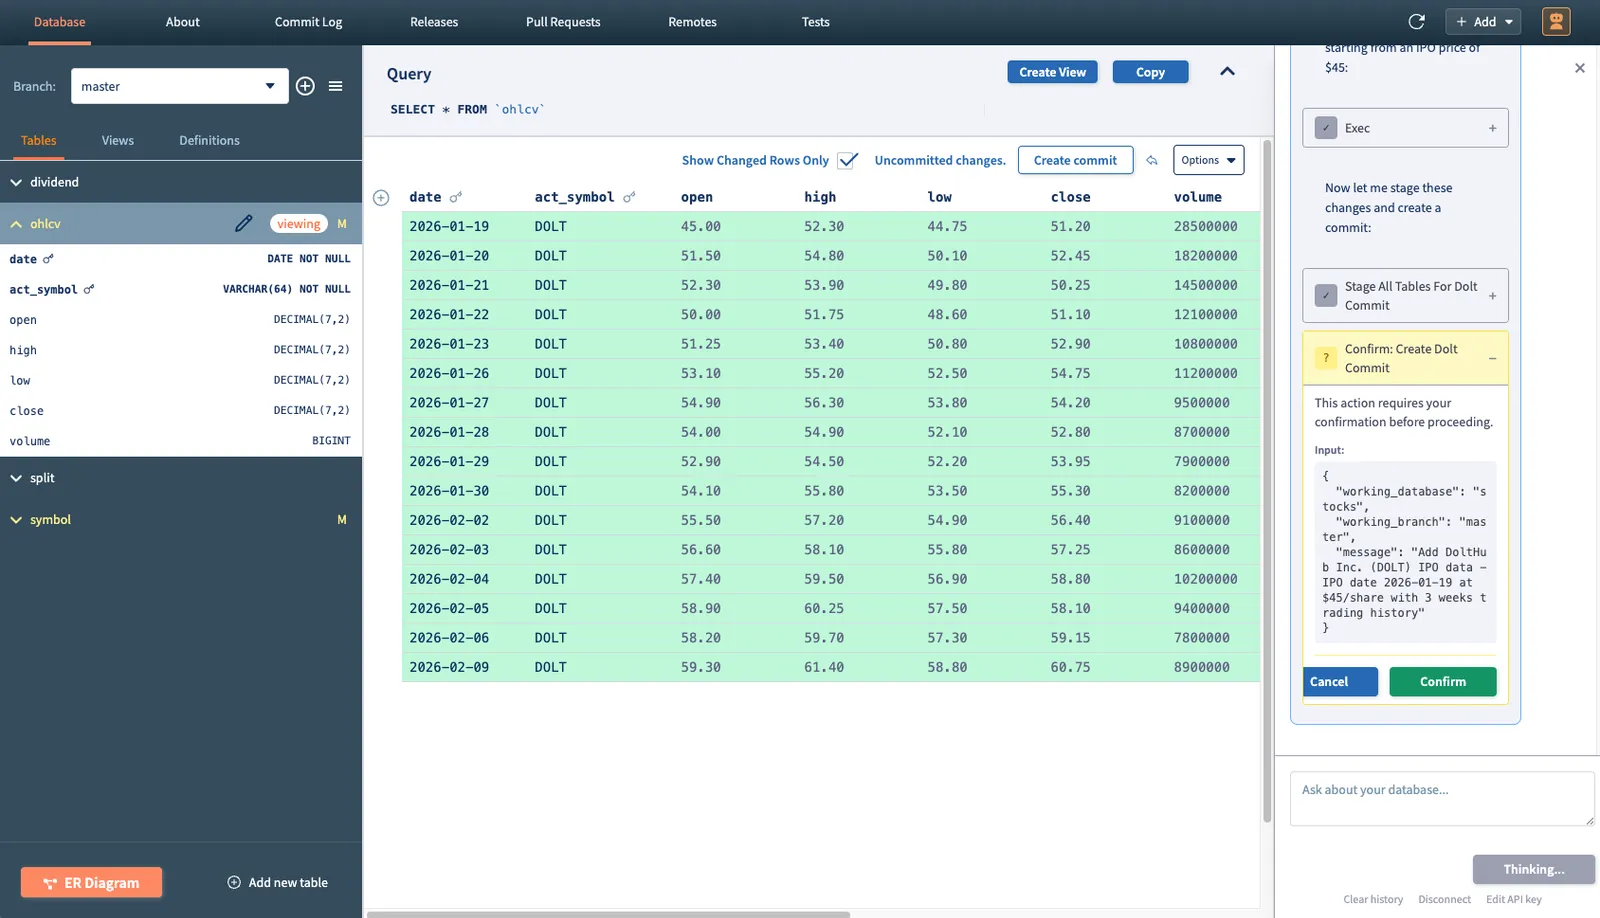
Last week, we launched agent mode in the Dolt Workbench. It works a lot like Cursor, but for SQL workbenches instead of IDEs. There’s a chat panel on the right side where you can give the agent instructions, and it will attempt to do whatever you ask, including making writes to your database.
We’re quite happy with how this feature turned out, so we wanted to do a deeper dive into some of the more technical details. In this article, we’ll discuss the main component powering the whole thing: the Claude Agent SDK.
The Agent SDK#
For those who have tried agent mode in the workbench, you’ve probably noticed that it feels a lot like Claude Code. Well, that’s because it is. The Claude Agent SDK essentially allows you to include Claude Code as a library in your project. According to the docs, the Agent SDK “gives you the same tools, agent loop, and context management that power Claude Code.” This is exactly the sort of experience we were hoping to replicate with the workbench. To get a better idea of how this works in a real project, let’s start with a quick overview of the architecture for agent mode and how the SDK fits in.
Agent Mode Architecture#
These are the two most important factors influencing the workbench’s integration with the agent SDK:
- The workbench is an Electron app driven by a main process, which manages the application lifecycle and native desktop features, and a renderer process, which runs a Chromium browser instance and displays the UI. These processes communicate with each other via IPC. Naturally, the agent SDK integration goes in the main process.
- For all Dolt-related operations, the agent uses the Dolt MCP server. This was done for a variety of reasons (which I’ll discuss in a later blog), but the important thing to note is that the agent SDK integrates very nicely with external MCP servers. In our case, the Dolt MCP server binary is bundled together with the app, and the SDK itself manages it.
So in summary, when a user sends a message to the agent that requires it to perform some operation on a Dolt database, that message is picked up by Electron’s renderer process and forwarded to the main process. The main process invokes the agent SDK with that message (as well as any prior context), which hits the upstream Claude API. The agent’s response along with any tool calls to the Dolt MCP server are then streamed back to the renderer.

With the bigger picture in mind, let’s take a closer look at how querying the agent works.
Querying#
The main function provided by the Claude Agent SDK is called query. This is what handles all interactions with the agent, and there’s a massive set of options you can pass to it in order to configure it for your needs. Here’s how we use it in the workbench:
const queryOptions: Parameters<typeof query>[0] = {
    prompt: userMessage,
    options: {
    model: this.config.model,
    systemPrompt,
    pathToClaudeCodeExecutable: getClaudeCliPaths(),
    env: { ...getAgentEnv(), ANTHROPIC_API_KEY: this.config.apiKey },
    mcpServers: {
        dolt: {
        command: mcpServerPath,
        args: mcpArgs,
        },
        workbench: workbenchMcpServer,
    },
    permissionMode: "default",
    canUseTool: async (toolName, input, options) =>
        this.canUseTool(toolName, input, { toolUseID: options.toolUseID }),
    },
};
Much of this is self-explanatory, but it’s worth going through anyways in order to understand exactly what’s going on. Here’s a breakdown of what each of these options is doing:
prompt: This should contain the message most recently sent by the user (i.e. the thing you want the agent to respond to immediately).model: The Claude model that should be used to answer the query (i.e “claude-opus-4-6”).systemPrompt: The pre-written prompt instructing the agent how it should respond to any query. This is a huge topic on its own and something I’ll discuss in greater depth in a future blog.pathToClaudeCodeExecutable: This is the full path to the Claude Code executable on the user’s machine. If not provided, the SDK will attempt to find the executable on its own. Since I didn’t want to force users to have Claude Code installed in order to use agent mode, I’m passing in the path to thecli.jsfile that comes bundled with the SDK.env: This is for all environment variables you want the agent to have access to. It’s also where we’re passing in the user’s API key.mcpServers: The startup command as well as any arguments for the MCP servers you want the agent to have access to.permissionMode: This determines the agent’s behavior surrounding tool calls and works the same as with real Claude Code (i.e. “accept_edits” mode versus “plan” mode).canUseTool: This is a callback function that the agent will call before attempting to execute a tool call. This is incredibly useful and allows you to implement an approval loop. For instance, using thedolt_commitMCP tool requires explicit user approval. This is our implementation:
private async canUseTool(
    toolName: string,
    input: Record<string, unknown>,
    options: { toolUseID: string },
): Promise<PermissionResult> {
    console.log(
      "canUseTool called with:",
      toolName,
      "toolUseID:",
      options.toolUseID,
    );

    if (!TOOLS_REQUIRING_CONFIRMATION.includes(toolName)) {
      return { behavior: "allow", updatedInput: input };
    }

    console.log("Sending confirmation request to renderer for:", toolName);

    // Send confirmation request inline with the tool call
    this.sendEvent("agent:tool-confirmation-request", {
      toolUseId: options.toolUseID,
      toolName,
      input,
    });

    return new Promise(resolve => {
      this.pendingConfirmation = {
        resolve,
        toolName,
        input,
        toolUseId: options.toolUseID,
      };
    });
}
The agent SDK manages session state for you, so keeping track of the session identifier is all that’s necessary to continue an existing session. We can do this like so:
if (this.sessionId) {
    queryOptions.options = {
    ...queryOptions.options,
    resume: this.sessionId,
    };
}
With all this defined, we can call query():
this.queryHandle = query(queryOptions);
void this.processEvents(this.queryHandle);
The query() method returns an async iterator that we then use to process and read the message stream from Claude. Let’s look at how that works.
Processing the Agent’s Response#
We start by iterating over the queryHandle object we grabbed previously and checking for a “system init” message from the agent. This is always the first event that comes back from the agent after starting a new query:
for await (const message of handle) {
    // If a newer query started, stop processing stale events
    if (this.queryHandle !== handle) return;

    // Handle system init message - capture session ID and MCP status
    if (message.type === "system" && message.subtype === "init") {
        this.sessionId = message.session_id;
        const mcpServersStatus: McpServerStatus[] = message.mcp_servers.map(
            (server: { name: string; status: string; error?: string }) => {
            return {
                name: server.name,
                status: server.status as "connected" | "failed",
                error: server.error,
            };
            },
        );
    }
We use this event to capture the new session ID and validate that the agent has successfully connected to the appropriate MCP servers. We then start looking for content blocks labeled “assistant”:
if (message.type === "assistant") {
    const apiMessage = message.message;
    if (apiMessage?.content) {
        for (const block of apiMessage.content) {
            if (block.type === "text") {
                const textBlock: ContentBlock = {
                  type: "text",
                  text: block.text,
                };
                this.contentBlocks.push(textBlock);
                this.sendEvent("agent:content-block", textBlock);
            } else if (block.type === "tool_use") {
                const toolBlock: ContentBlock = {
                  type: "tool_use",
                  id: block.id,
                  name: block.name,
                  input: block.input as Record<string, unknown>,
                };
                this.toolCallMap.set(block.id, this.contentBlocks.length);
                this.contentBlocks.push(toolBlock);
                this.sendEvent("agent:content-block", toolBlock);
            }
        }
    }
}
There are two events that we care about here: “text” and “tool_use”. Text events are simply text blocks from the agent, usually giving some commentary on what it’s doing or providing a summary at the end of the message. The tool use blocks come in with an ID, the name of the tool, and the input. We keep track of all this information throughout the session.
The next important type of event is the “tool_result” block, which comes in as a “user” event rather than an “assistant”. We process these as follows:
if (message.type === "user") {
    const apiMessage = message.message;
    const contentArray = apiMessage?.content;
    if (Array.isArray(contentArray)) {
        for (const block of contentArray) {
            if (
                typeof block === "object" &&
                block !== null &&
                "type" in block &&
                block.type === "tool_result"
            ) {
                const toolResultBlock = block as {
                  type: "tool_result";
                  tool_use_id: string;
                  content?: unknown;
                  is_error?: boolean;
                };

                // Update the corresponding tool_use block with the result
                const blockIndex = this.toolCallMap.get(
                    toolResultBlock.tool_use_id,
                );
                if (blockIndex !== undefined) {
                    const toolBlock = this.contentBlocks[blockIndex];
                    if (toolBlock.type === "tool_use") {
                        toolBlock.result = toolResultBlock.content;
                        toolBlock.isError = toolResultBlock.is_error;
                    }
                }

                // Send tool result event with the tool ID so renderer can update
                const toolBlock = this.contentBlocks[blockIndex ?? -1] as
                    | { name?: string }
                    | undefined;
                const resultEvent: ToolResultEvent = {
                    id: toolResultBlock.tool_use_id,
                    name: toolBlock?.name ?? "unknown",
                    result: toolResultBlock.content,
                    isError: toolResultBlock.is_error,
                };
                this.sendEvent("agent:tool-result", resultEvent);
            }
        }
    }
}
Since tool results come in separately from their corresponding tool call blocks, we grab the ID from the prior tool call block, populate the tool use ID appropriately, then send the result to the renderer process. Since multiple tool calls and text blocks can come in asynchronously before any results, this allows us to backfill the results of tool calls appropriately for the UI.
The final type of message we check for is the “result” event, which signals that the agent is done responding to the query and indicates whether or not it was successful.
if (message.type === "result") {
    if (message.subtype === "success") {
        this.sendEvent("agent:message-complete", {
            contentBlocks: this.contentBlocks,
        });
    } else {
        // Error subtypes have 'errors' array
        const errorResult = message as { errors?: string[] };
        const errorMsg = errorResult.errors?.join(", ") ?? "Agent execution failed";
        this.sendEvent("agent:error", { error: errorMsg });
    }
}Conclusion#
This should be enough to get you started on your own query/response loop using the Claude Agent SDK. Check out the full source code here. You’ll notice that there’s not a whole lot of code here that explicitly prevents the agent from doing things. This was intentional. Agent mode in the workbench is intended to be used primarily with Dolt databases, which are fully version-controlled, meaning that there’s nothing the agent can do that isn’t reversible. This is a superpower for agentic applications. In future blogs, we’ll discuss more about why that is, how the Dolt MCP server is particularly useful, and how you write custom MCP tools within the SDK for application-specific operations. In the meantime, try out agent mode in the workbench! It’s available for download here or from the Mac and Windows app stores. If you have any questions or are building your own application with the Claude Agent SDK, come by our Discord and let us know.