Getting Started: Laravel and Dolt

We're on a mission to show that Dolt works with all your favorite tools in all your favorite languages. Today we head to PHP-land and show you how to integrate Dolt with Laravel, a popular website builder with a built in ORM.

TLDR; The Code
If you don't want to run through the tutorial and just want the chirper code with branches implemented to play with, it is available in this GitHub repository.
To get it to work, follow these steps which should be pretty familiar to Laravel users.
- Install Dolt, PHP, and Composer
- Clone My Chirper Repository and
cd chirper - Make sure it knows chirper is a Laravel project
$ composer install- Start a Dolt Server and make a
laraveldatabase - Set up your Laravel
.env
$ cp .env.example .env- Run the migrations
$ php artisan migrate- Start Vite
$ npm install
$ npm run dev- Make a key
php artisan key:generate- Start Laravel
$ php artisan serve- Hit
localhost:8000, register and log in. Then navigate tolocalhost:8000/chirps. You should see the Chirper application with branches.
Install Dolt, PHP, and Composer
To get this demo going, we're going to need Dolt, PHP and Composer. Composer is a package manger for PHP.
Dolt is a single ~103 megabyte program.
$ du -h ~/go/bin/dolt
103M	/Users/timsehn/go/bin/dolt
It's really easy to install. Download it and put it on your PATH. We have a bunch of ways to make this even easier for most platforms.
Here is a convenience script that does that for *NIX platforms. Open a terminal and run it.
sudo bash -c 'curl -L https://github.com/dolthub/dolt/releases/latest/download/install.sh | sudo bash'For the rest of this blog entry, I'm going to assume you are on a *NIX based system and use bash when interacting on the command line.
Now, you'll get access to Laravel via Composer which is a package/dependency manager for PHP. So, install PHP and Composer. There's a bunch of ways to do this. I installed them both via Homebrew on my Mac.
$ brew install php
$ brew install composer
Start with the Example App
Let's make a place for our project to live. I'm putting mine in my home directory in a folder named laravel.
$ cd ~
$ mkdir laravel
$ cd laravel
We use composer to make an example app from the example-app project. This downloads a bunch of files and puts them in the .example-app directory. These files can be used to serve a sample website.
$ composer create-project laravel/laravel example-app
Creating a "laravel/laravel" project at "./example-app"
Installing laravel/laravel (v10.2.10)
  - Downloading laravel/laravel (v10.2.10)
  - Installing laravel/laravel (v10.2.10): Extracting archive
Created project in /Users/timsehn/dolthub/dolt/laravel/example-app
> @php -r "file_exists('.env') || copy('.env.example', '.env');"
Loading composer repositories with package information
Updating dependencies
Lock file operations: 111 installs, 0 updates, 0 removals
  - Locking brick/math (0.11.0)
...
...
...
  - Installing spatie/ignition (1.11.3): Extracting archive
  - Installing spatie/laravel-ignition (2.3.2): Extracting archive
43 package suggestions were added by new dependencies, use `composer suggest` to see details.
Generating optimized autoload files
> Illuminate\Foundation\ComposerScripts::postAutoloadDump
> @php artisan package:discover --ansi

   INFO  Discovering packages.

  laravel/sail ................................................................................................................................ DONE
  laravel/sanctum ............................................................................................................................. DONE
  laravel/tinker .............................................................................................................................. DONE
  nesbot/carbon ............................................................................................................................... DONE
  nunomaduro/collision ........................................................................................................................ DONE
  nunomaduro/termwind ......................................................................................................................... DONE
  spatie/laravel-ignition ..................................................................................................................... DONE

83 packages you are using are looking for funding.
Use the `composer fund` command to find out more!
To serve the website you run php artisan serve.
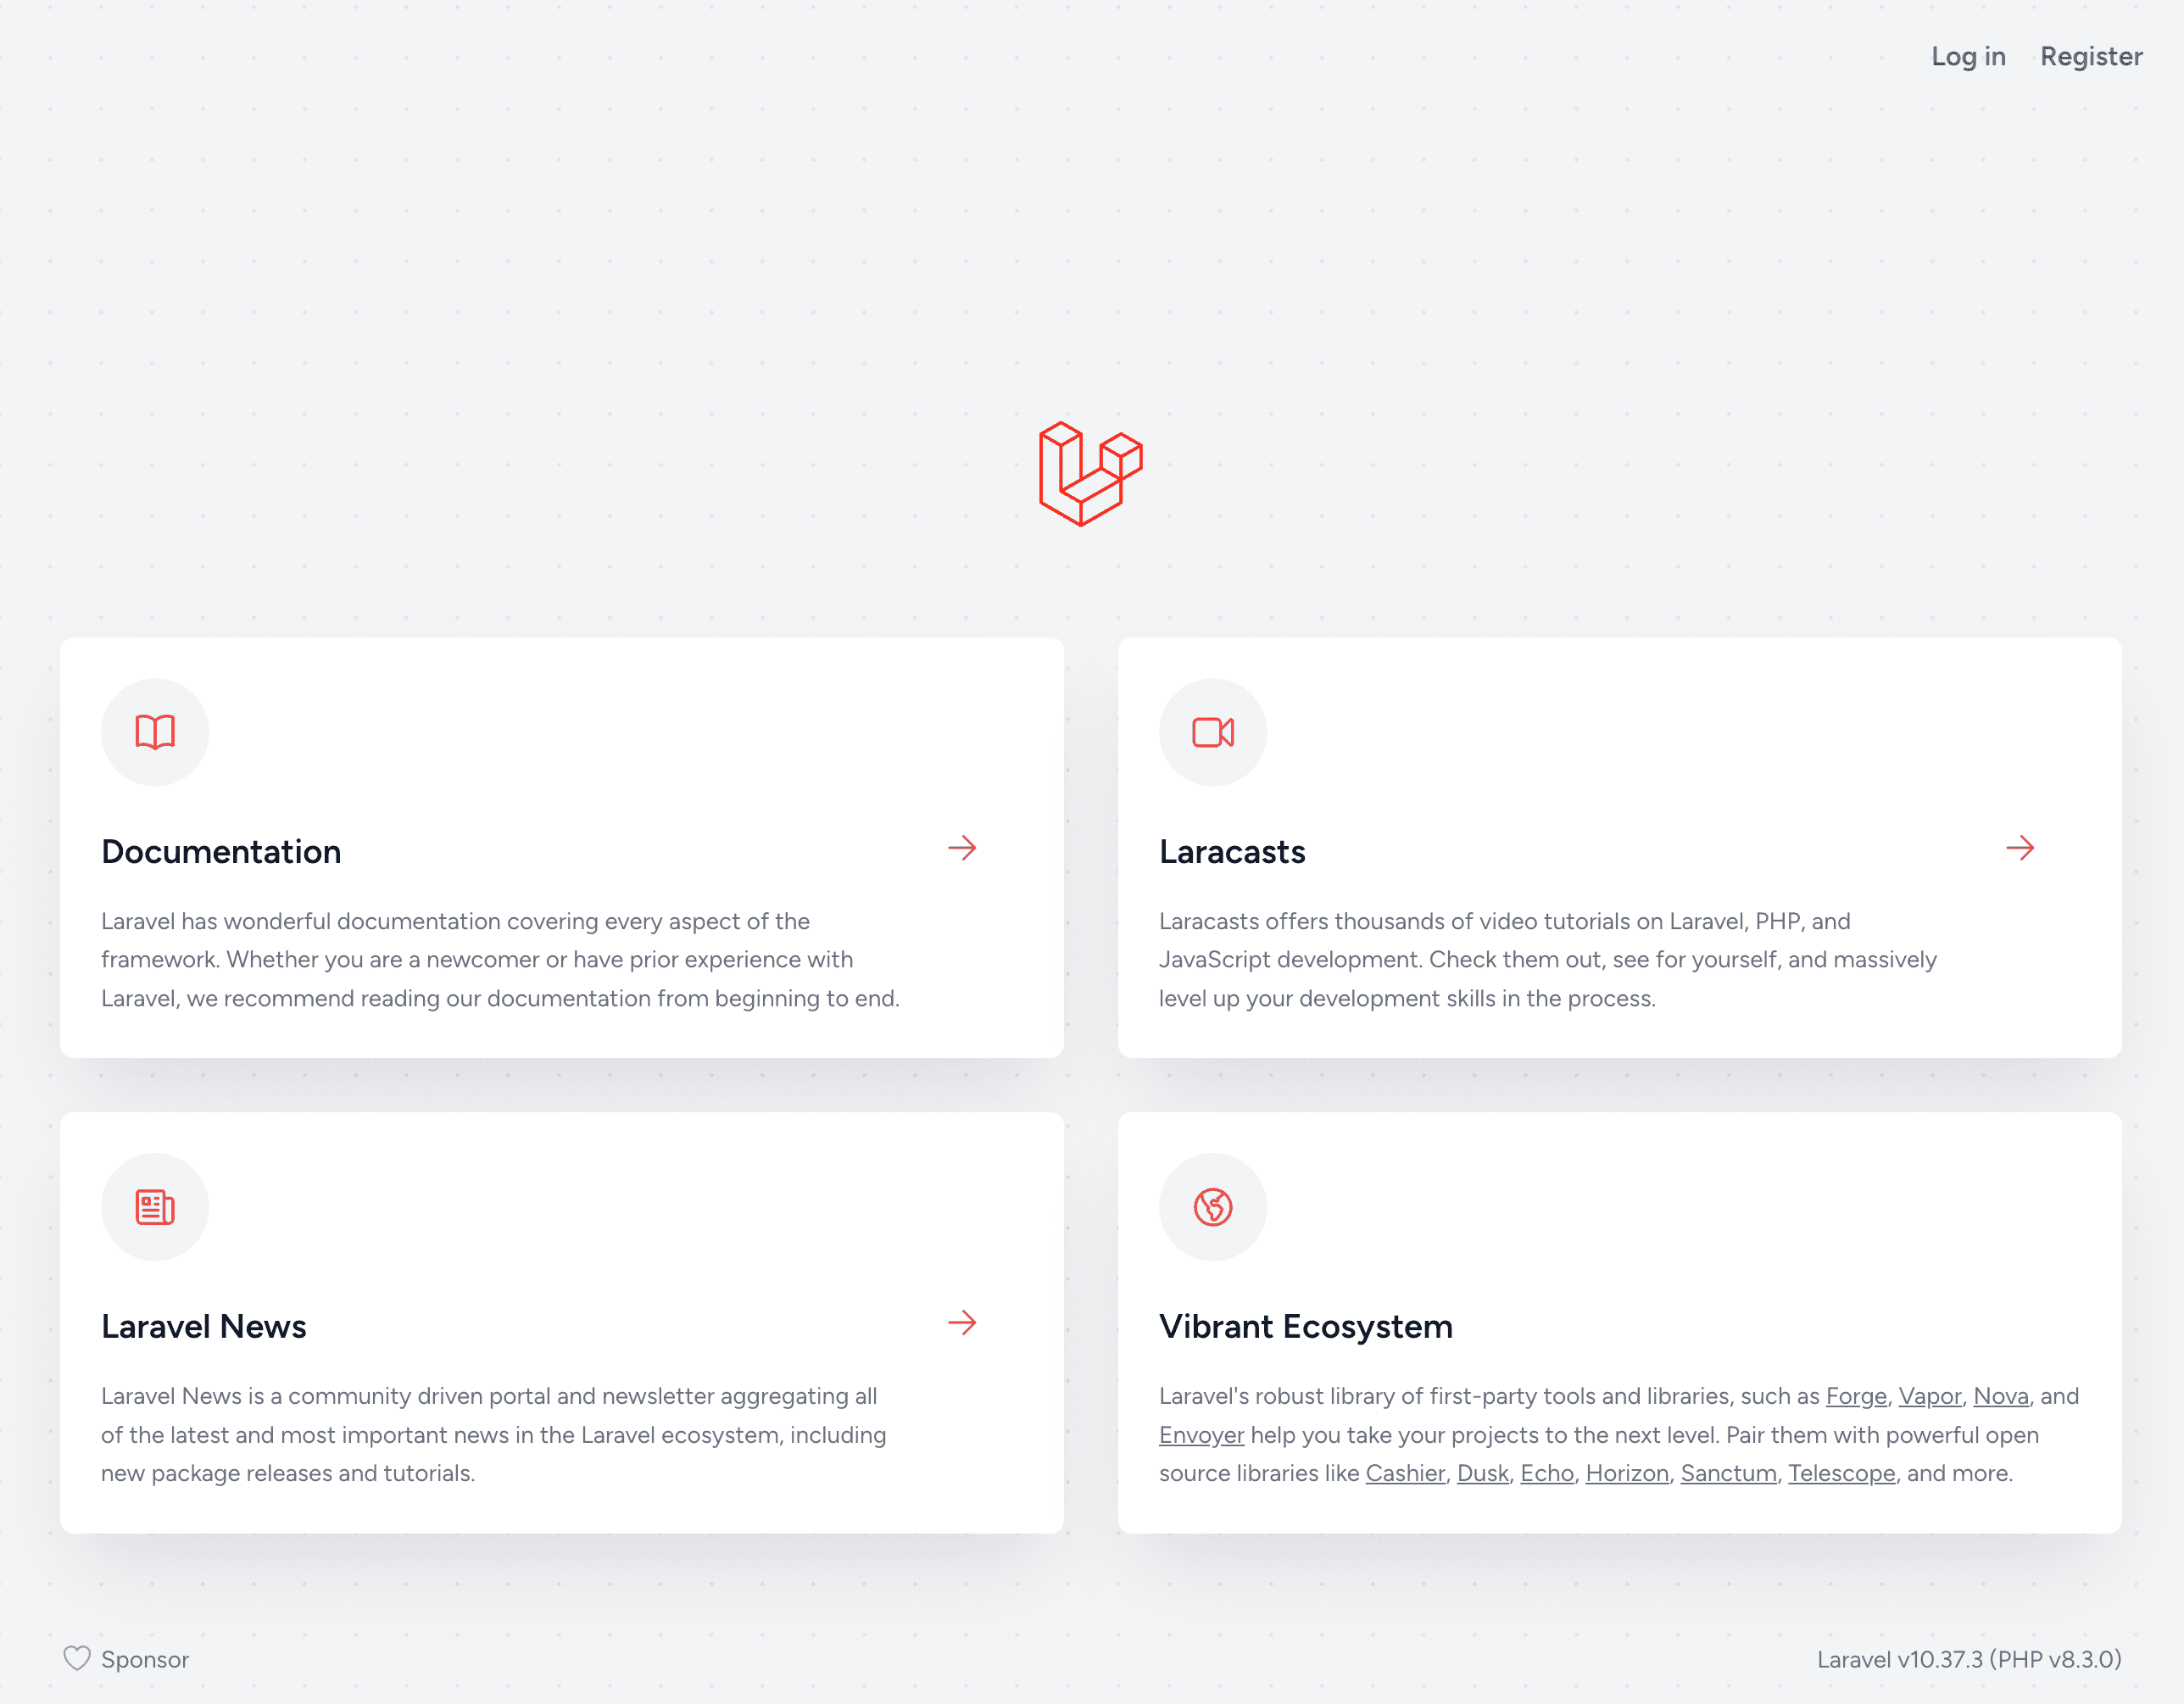
$ php artisan serve

   INFO  Server running on [http://127.0.0.1:8000].

  Press Ctrl+C to stop the server
And voila! You have a website.
Create a Dolt Database
Stop that process for now. Let's configure a Dolt database. In a new shell, we'll start a Dolt SQL server and make a new database named laravel. Remember, Dolt is MySQL-compatible and Laravel comes configured out of the box to work with MySQL. So, as long as we have a MySQL-compatible database available on port 3306, everything should just work.
We start the SQL Server in the laravel directory.
$ cd ~/laravel
$ dolt sql-server
Then we open another shell and create a database named laravel.
$ cd ~/laravel
$ dolt sql -q "create database laravel"
Your Dolt database data now lives in ~/laravel/laravel.
Use Laravel to Build the Required Database Tables
To populate the laravel Dolt database we run php artisan migrate.
$ php artisan migrate

   INFO  Preparing database.

  Creating migration table ................................................................................................................ 9ms DONE

   INFO  Running migrations.

  2014_10_12_000000_create_users_table ................................................................................................... 13ms DONE
  2014_10_12_100000_create_password_reset_tokens_table ................................................................................... 12ms DONE
  2019_08_19_000000_create_failed_jobs_table ............................................................................................. 12ms DONE
  2019_12_14_000001_create_personal_access_tokens_table .................................................................................. 21ms DONE
So far so good. Dolt just works because Dolt is MySQL-compatible and Laravel is set up by default to work with MySQL.
Let's create a Dolt commit to save our progress so far.
$ dolt commit -Am "Example app created tables"Move on to the Bootcamp App
Now let's look at a more interesting example. The example app doesn't have much functionality. Let's use the Laravel Bootcamp app, which makes an app called Chirper that looks a bit like a Twitter...errr....X clone. I went with the Blade install.
Setup
This website has a few active components. Let's get those set up. First, I'll create the actual project and run it.
$ composer create-project laravel/laravel chirper

$ cd chirper

$ php artisan serve
This website also requires Laravel Breeze which is a simple implementation of all of Laravel's authentication features. We'll do this in another shell because it requires a running server process.
$ composer require laravel/breeze --dev

$ php artisan breeze:install blade

$ npm run dev

  VITE v4.5.1  ready in 318 ms

  ➜  Local:   http://localhost:5173/
  ➜  Network: use --host to expose
  ➜  press h to show help

  LARAVEL v10.37.3  plugin v0.8.1

  ➜  APP_URL: http://localhost
This will start a server called Vite which apparently automatically re-compiles CSS for you when you make changes.
And in yet another shell, we will make the database tables in Dolt.
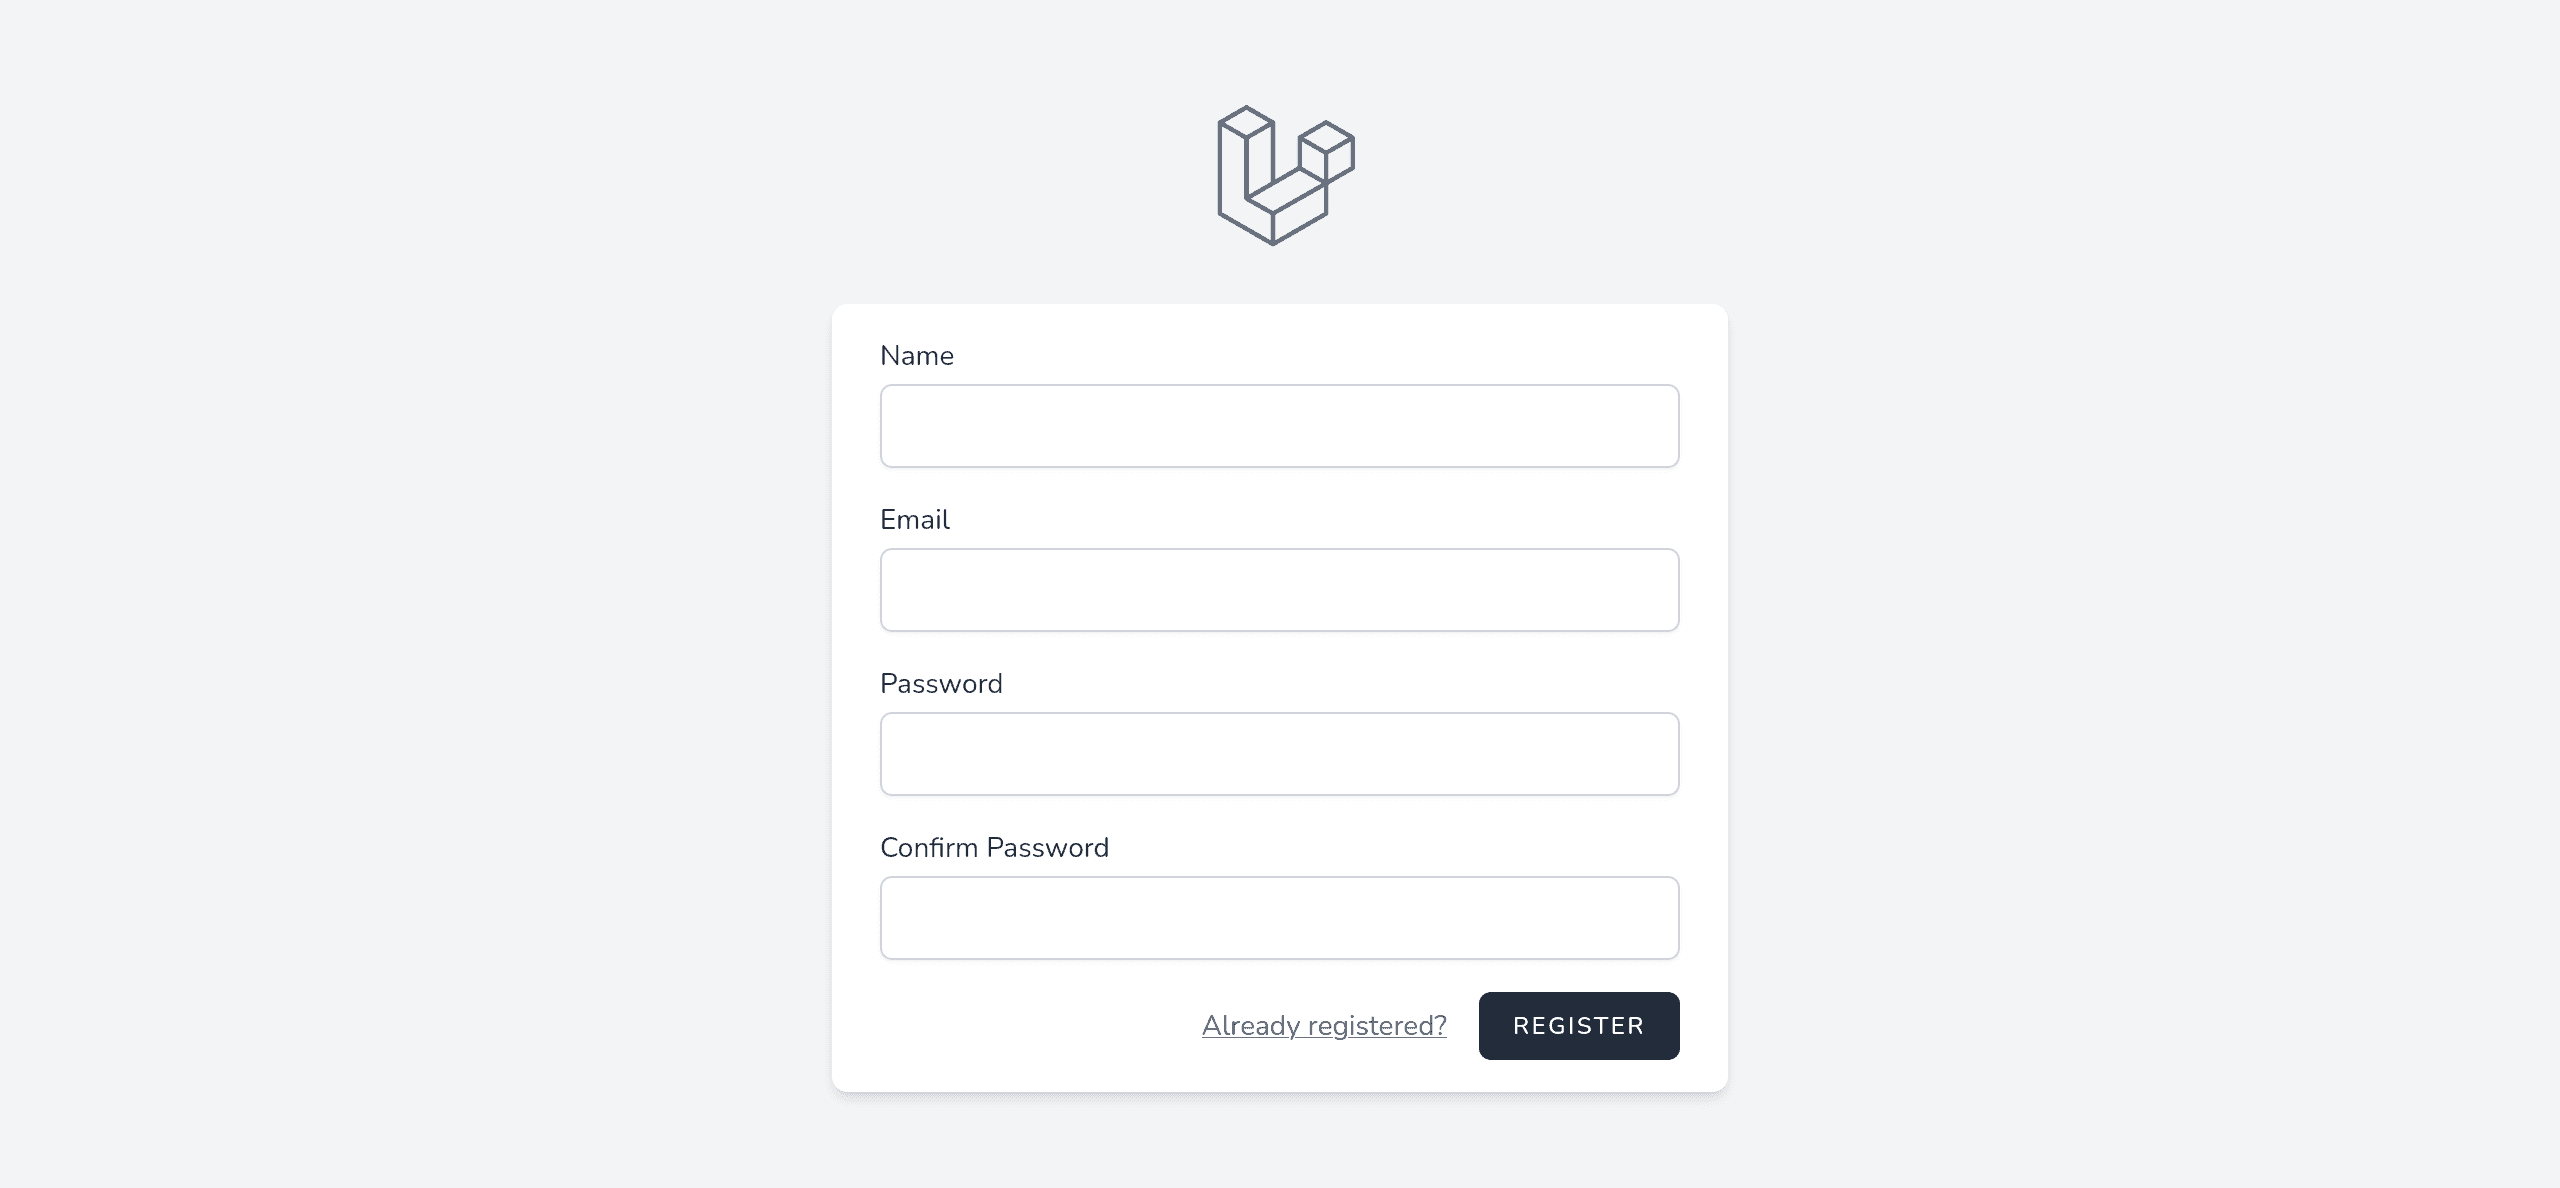
$ php artisan migrateYou should now see the welcome page on http://127.0.0.1:8000/ and be able to register by clicking the Register link in the top corner.
Just to recap you should have shells open with three running components:
- A Dolt SQL Server
- A Laravel website server
- A Vite server
Make a Dolt Commit
It is a good time to save your progress in Dolt as well. In yet another terminal run:
$ cd ~/laravel/laravel/
$ dolt sql
$ dolt sql
# Welcome to the DoltSQL shell.
# Statements must be terminated with ';'.
# "exit" or "quit" (or Ctrl-D) to exit.
laravel> call dolt_commit('-Am', 'Initial migrated tables');
+----------------------------------+
| hash                             |
+----------------------------------+
| vpbdjskgnjp92qp3srcu43k5r1q00mvv |
+----------------------------------+
1 row in set (0.01 sec)

laravel>
This connects a SQL client to your running Dolt database and makes a Dolt commit. Dolt commits are used to time travel and create diffs. This is a good place you may want to go back to or compare to in the future. Feel free also to run SHOW TABLES and DESCRIBE users to get a feel for what Laravel has created for you.
Write some code
So now, you can work through the bootcamp to get a working Chirper application or you can just clone mine. Here is the link to the Git Diff of what you need to do to get it working. It took me about an hour to walk through.
At one point I modified the chirps table to have a foreign key to the users table using a Laravel migration.
$ php artisan migrate

   INFO  Running migrations.

  2024_01_04_175801_create_chirps_table .................................................................................................. 16ms DONE
After this, I made a Dolt commit to make sure I could go back to this point if I wanted.
laravel> call dolt_commit('-Am', 'Chirps migration');
+----------------------------------+
| hash                             |
+----------------------------------+
| aoops1pk2lm9dv33c3951mvs2pkb3ndd |
+----------------------------------+
1 row in set (0.01 sec)
Add some Dolt Commits
Now it's time for our first Dolt feature. Whenever we create or edit a chirp we're going to make a Dolt commit. To do this we need to call the dolt_commit() stored procedure. Dolt exposes version control write operations as procedures and version control read operations as system tables and functions.
To make a raw SQL query in Laravel, you use the DB::unprepared method provided by the use Illuminate\Support\Facades\DB class. So in the ChirpController we add the following statements in the proper methods.
<?php
namespace App\Http\Controllers;
use App\Models\Chirp;
use Illuminate\Http\Request;
use Illuminate\Http\Response;
use Illuminate\View\View;
use Illuminate\Http\RedirectResponse;
+ use Illuminate\Support\Facades\DB;
class ChirpController extends Controller
{
...
public function store(Request $request): RedirectResponse
{
$validated = $request->validate([
'message' => 'required|string|max:255',
]);
$request->user()->chirps()->create($validated);
+ DB::unprepared('call dolt_commit(\'-Am\', \'Inserted new chirp\')');
return redirect(route('chirps.index'));
}
...
public function update(Request $request, Chirp $chirp): RedirectResponse
{
$this->authorize('update', $chirp);
$validated = $request->validate([
'message' => 'required|string|max:255',
]);
$chirp->update($validated);
+ DB::unprepared('call dolt_commit(\'-Am\', \'Updated chirp\')');
return redirect(route('chirps.index'));
}
...
public function destroy(Chirp $chirp): RedirectResponse
{
$this->authorize('delete', $chirp);
$chirp->delete();
+ DB::unprepared('call dolt_commit(\'-Am\', \'Deleted chirp\')');
return redirect(route('chirps.index'));
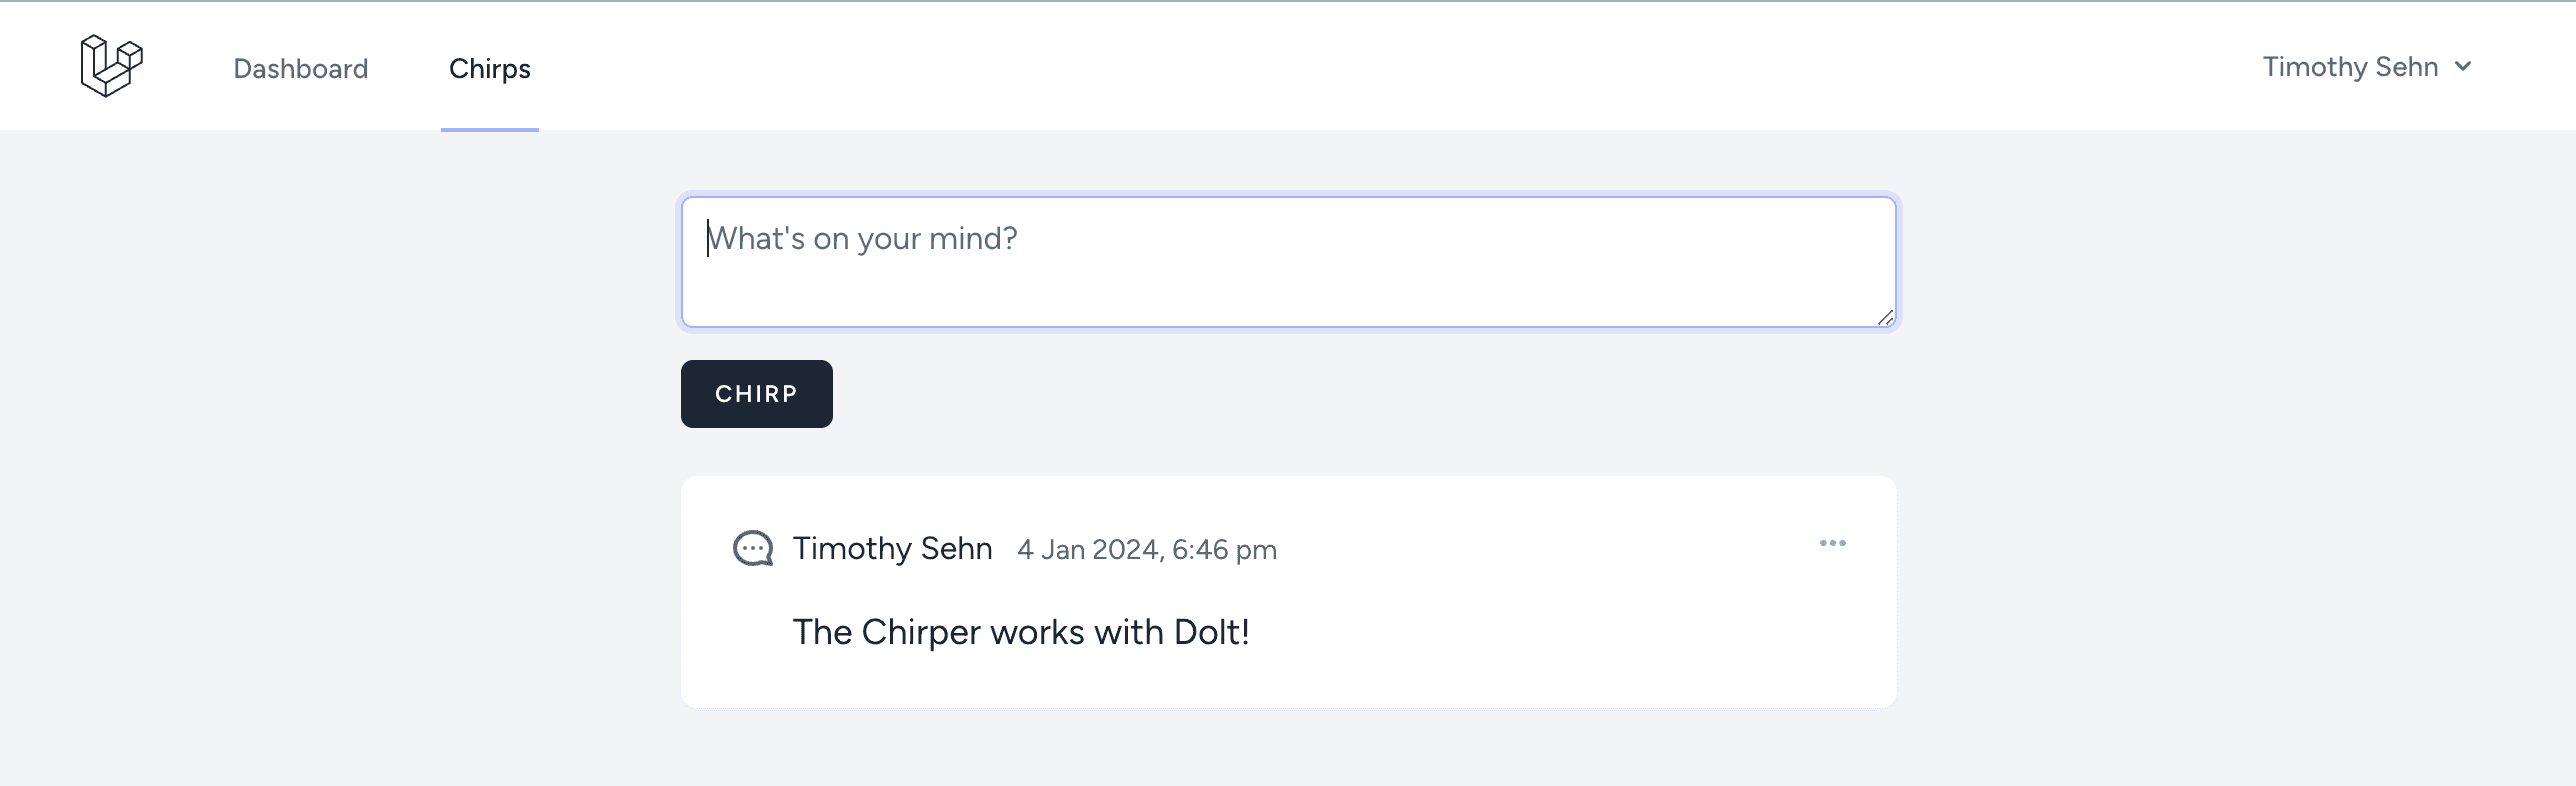
}Now whenever I take these actions in my application I can see them in the dolt_log() system table. Here I make a new chirp, edit it, and then delete it. In our SQL console I can inspect the dolt_log() table.
laravel> select * from dolt_log;
+----------------------------------+---------------------+-------------------------------+---------------------+----------------------------+
| commit_hash                      | committer           | email                         | date                | message                    |
+----------------------------------+---------------------+-------------------------------+---------------------+----------------------------+
| am92oifvtmo8mv56pnct8cueisvp2s3o | root                | root@%                        | 2024-01-04 19:00:12 | Deleted chirp              |
| ebsv11gqo4h56r5fpi43ar7sp3igahp8 | root                | root@%                        | 2024-01-04 19:00:09 | Updated chirp              |
| jnva0undqh6cd2k5286f5vl0sdb5qfbb | root                | root@%                        | 2024-01-04 18:59:59 | Inserted new chirp         |
| 8qm0d9upv9q0h5rlr4ltcmo847rhf4fd | root                | root@%                        | 2024-01-04 18:59:49 | Inserted new chirp         |
| aoops1pk2lm9dv33c3951mvs2pkb3ndd | __dolt_local_user__ | __dolt_local_user__@localhost | 2024-01-04 18:14:18 | Chirps migration           |
| vpbdjskgnjp92qp3srcu43k5r1q00mvv | __dolt_local_user__ | __dolt_local_user__@localhost | 2024-01-04 17:28:48 | Initial migrated tables    |
| r73k8kl06sc3mij9q7lmc67jksnjmk75 | timsehn             | tim@dolthub.com               | 2023-12-15 19:23:24 | Initialize data repository |
+----------------------------------+---------------------+-------------------------------+---------------------+----------------------------+
7 rows in set (0.00 sec)
Having Dolt commits allow you to rollback and compare database states at different times. Dolt commits create powerful debugging tools for your database.
Viewing Branches
Now, let's add branches to our application. First, I'll create a branch called branch on the database in my SQL client shell because I'll only be able to create branches using Laravel later in this demo. Dolt stored procedures follow the Git command line convention so if you know Git, you already know Dolt.
laravel> call dolt_branch('branch');
+--------+
| status |
+--------+
| 0      |
+--------+
1 row in set (0.02 sec)

laravel>
Now, we're going to expose branch functionality in Laravel. First, we create a Branch model.
php artisan make:model -mrc Branch

   INFO  Model [app/Models/Branch.php] created successfully.

   INFO  Migration [database/migrations/2024_01_04_195703_create_branches_table.php] created successfully.

   INFO  Controller [app/Http/Controllers/BranchController.php] created successfully.
Then, we make a route to the branches page.
$ git diff routes/web.php
diff --git a/routes/web.php b/routes/web.php
index 7999cd6..8e84278 100644
--- a/routes/web.php
+++ b/routes/web.php
@@ -1,6 +1,7 @@
 <?php

 use App\Http\Controllers\ChirpController;
+use App\Http\Controllers\BranchController;
 use App\Http\Controllers\ProfileController;
 use Illuminate\Support\Facades\Route;

@@ -27,6 +28,10 @@
     ->only(['index', 'store', 'edit', 'update', 'destroy'])
     ->middleware(['auth', 'verified']);

+Route::resource('branches', BranchController::class)
+    ->only(['index'])
+    ->middleware(['auth', 'verified']);
+
 Route::middleware('auth')->group(function () {
     Route::get('/profile', [ProfileController::class, 'edit'])->name('profile.edit');
     Route::patch('/profile', [ProfileController::class, 'update'])->name('profile.update');
Now we have to expose the dolt_branches system table to Laravel. To do that, we're going to dive a little deeper into Laravel's ORM, Eloquent. We have to model the branches table. Eloquent assumes every table has an auto incrementing primary key so we need to change some defaults to say the dolt_branches table has a name primary key that is a string. We also turn off the timestamps setting because the dolt_branches table doesn't have created_at and updated_at columns like a Laravel created table. Below you can see what our app/Models/Branch.php file looks like:
<?php

namespace App\Models;

use Illuminate\Database\Eloquent\Factories\HasFactory;
use Illuminate\Database\Eloquent\Model;

class Branch extends Model
{
    use HasFactory;

    protected $table = 'dolt_branches';
    protected $primaryKey = 'name';
    public $incrementing = false;
    protected $keyType = 'string';
    public $timestamps = false;
}
Also to be safe, I removed the migration database/migrations/2024_01_04_195703_create_branches_table.php because I don't want to accidentally have Laravel trying to create a branches table.
Now, we have to make the BranchController.php and webpage to display when you hit the branches route. For the BranchController, we want to make our index function send the branches and active branch to our blade template so we can render all the branches and which one is in use. This function looks like so:
public function index(): View
  {
    return view('branches.index', [
      'branches' => Branch::all(),
        'active_branch' => DB::Select('select active_branch() as active')
    ]);
  }
Then we muck around with resources/views/branches/index.blade.php until we have something that looks nice:
<x-app-layout>
   <div class="max-w-2xl mx-auto p-4 sm:p-6 lg:p-8">
        <div class="mt-6 bg-white shadow-sm rounded-lg divide-y">
            @foreach ($branches as $branch)
                <div class="p-6 flex space-x-2">
                    <div class="flex-1">
		                @if ( $branch->name == $active_branch[0]->active )
                      <p class="mt-4 text-lg text-gray-900"><b>* {{ $branch->name }}</b></p>
			              @else
			                <p class="mt-4 text-lg text-gray-900">{{ $branch->name }}</p>
			              @endif
                    </div>
                </div>
            @endforeach
        </div>
    </div>
</x-app-layout>
And voila, we have the branches page!

You can see all the code changes to make this possible at this GitHub diff.
Making New Branches
To make new branches we must expose the store route.
Route::resource('branches', BranchController::class)
    ->only(['index', 'store'])
    ->middleware(['auth', 'verified']);
Then we modify the store method in the BranchController and use the dolt_branch procedure to create branches while grabbing the branch name from the request's named input. We do this in the same way we used the dolt_commit procedure via DB::unprepared earlier in the article.
public function store(Request $request): RedirectResponse
{
  $branch_name = $request->input('branch_name');

  DB::unprepared("call dolt_branch('$branch_name')");

  return redirect(route('branches.index'));
  }
The hardest part here is the blade templating. We make a form and send it to the proper route when a button is clicked.
<x-app-layout>
   <div class="max-w-2xl mx-auto p-4 sm:p-6 lg:p-8">
        <div class="mt-6 bg-white shadow-sm rounded-lg divide-y">
            @foreach ($branches as $branch)
                <div class="p-6 flex space-x-2">
                    <div class="flex-1">
                        @if ( $branch->name == $active_branch[0]->active )
                             <p class="mt-4 text-lg text-gray-900"><b>* {{ $branch->name }}</b></p>
                        @else
                             <p class="mt-4 text-lg text-gray-900">{{ $branch->name }}</p>
                        @endif
                    </div>
                </div>
            @endforeach
        </div>
        <div class="max-w-2xl mx-auto p-4 sm:p-6 lg:p-8">
            <form method="POST" action="{{ route('branches.store') }}">
                @csrf
                <textarea
                name="branch_name"
                placeholder="{{ __('Name your new branch') }}"
                class="block w-full border-gray-300 focus:border-indigo-300 focus:ring focus:ring-indigo-200 focus:ring-opacity-50 rounded-md shadow-sm"
                ></textarea>
            <x-primary-button class="mt-4">{{ __('Create new branch') }}</x-primary-button>
            </form>
        </div>
    </div>
</x-app-layout>
After all this you can create new branches.
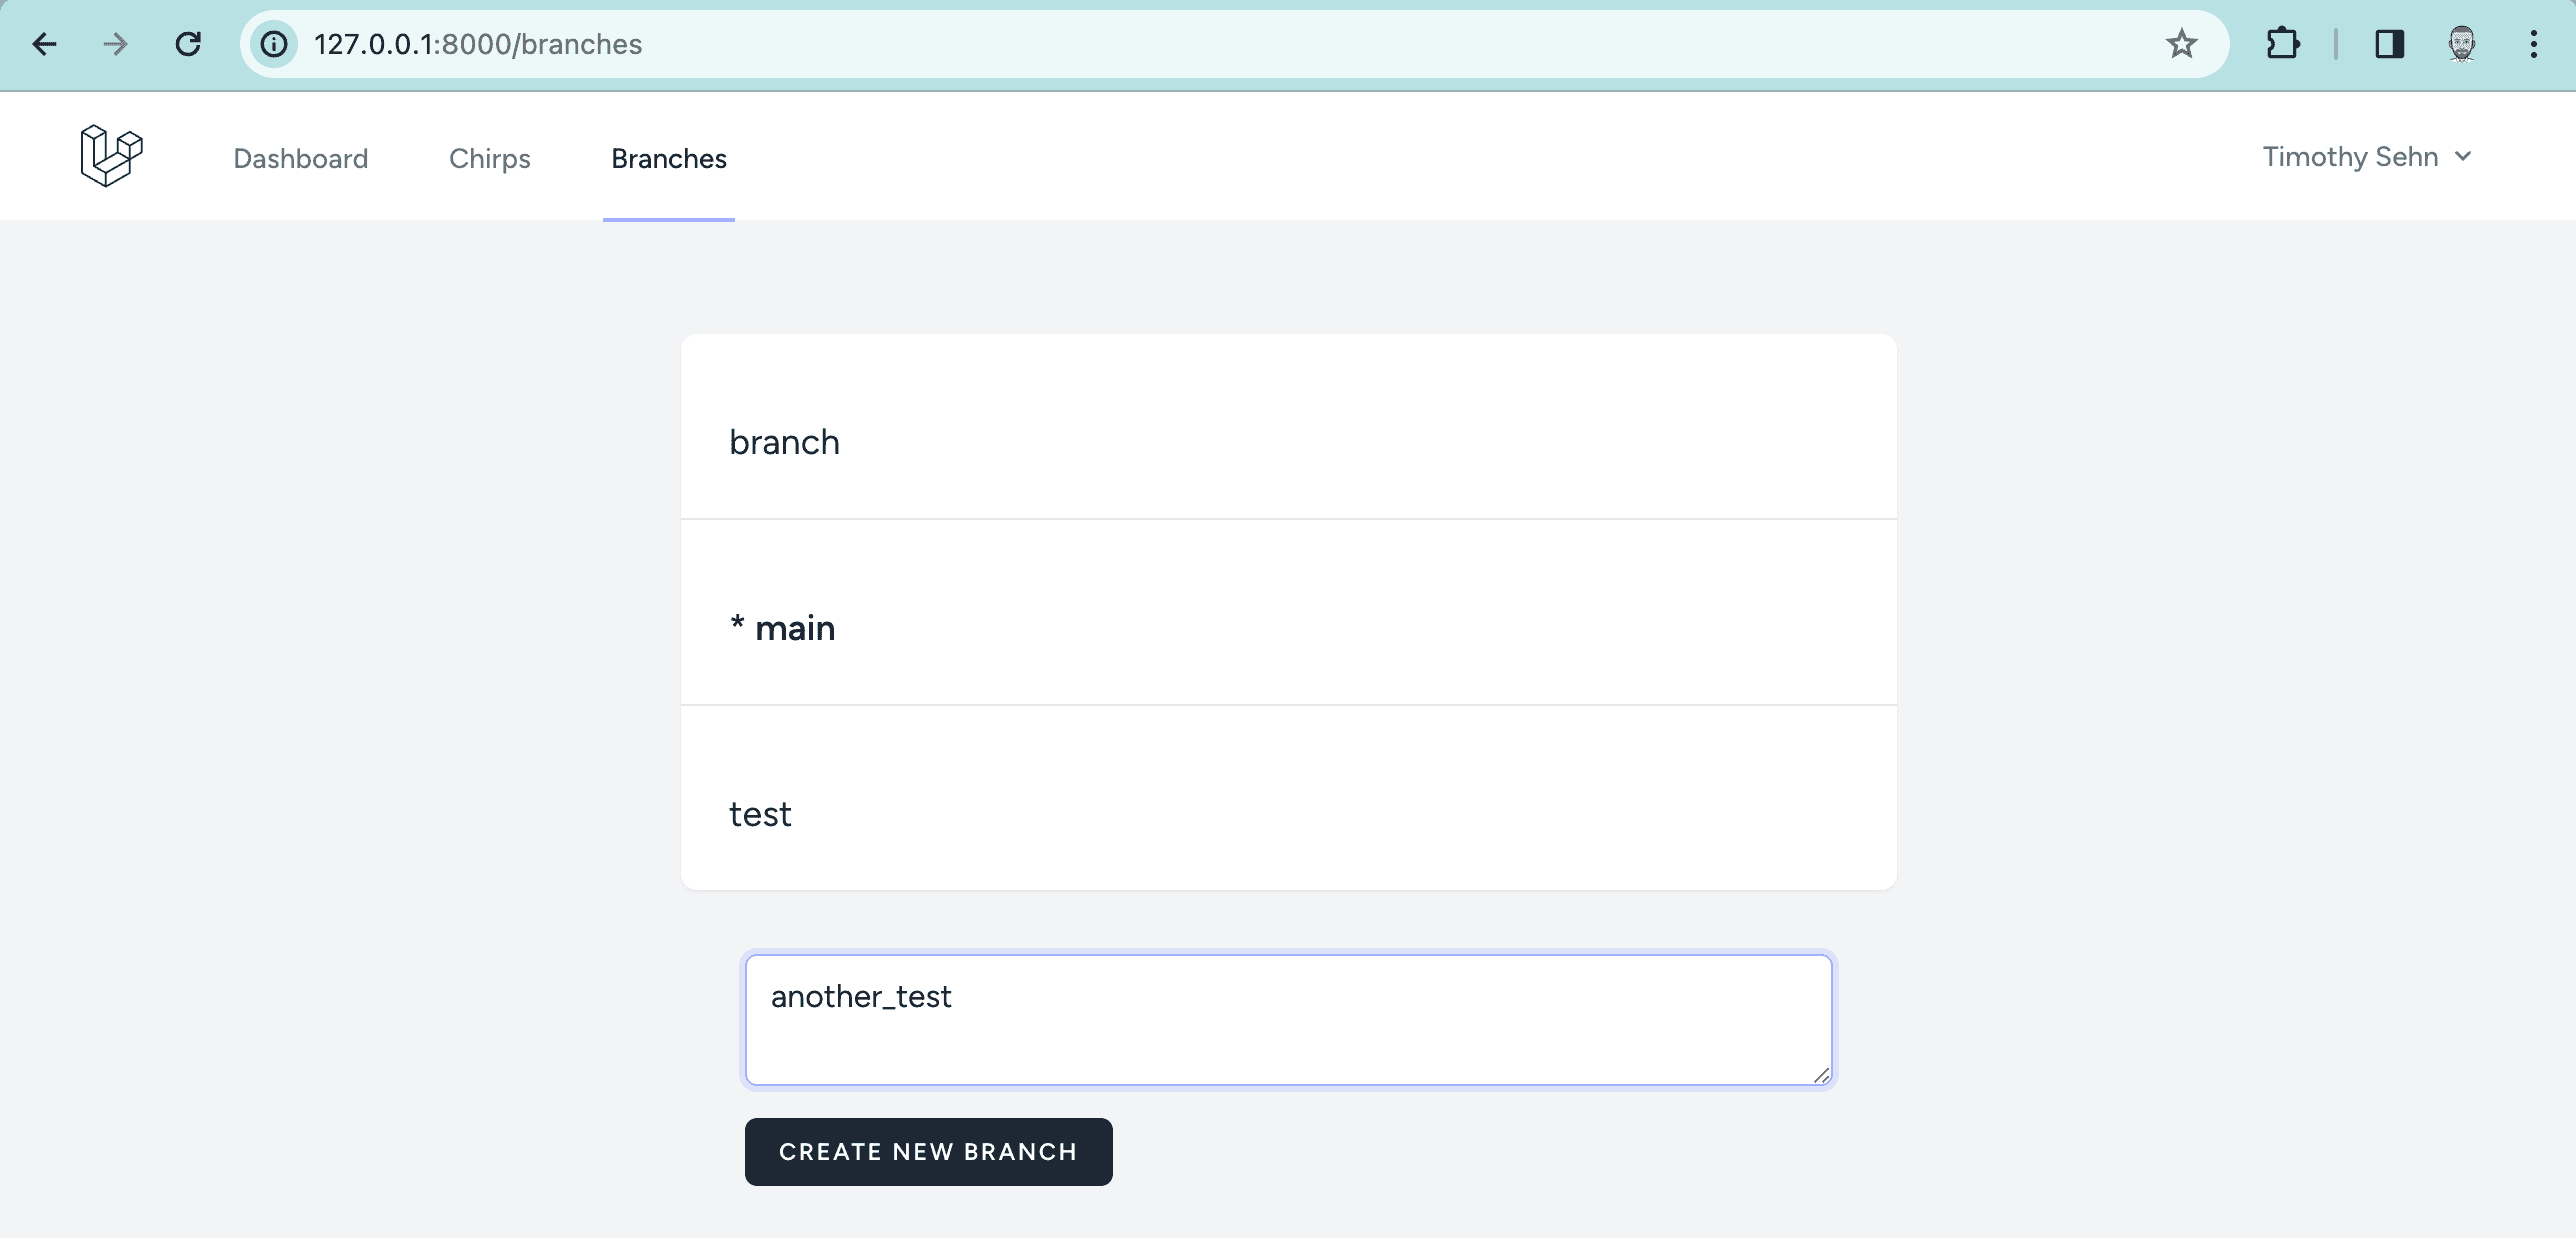
We probably could add some input validation and error handling here if this were not a sample application.
Deleting Branches
For deleting branches it is more of the same: add the destroy route, make the destroy function in BranchController, and then add some blade. I'm not going to walk through it in great detail here but here is the diff if you want to inspect the code.

Changing Branches
This is where things get a little complicated. If you're familiar with Laravel, you can see that we co-opted the standard controller model and instead of storing and editing data in a custom database table we used the dolt_branches system table for reads and Dolt stored procedures for writes. We spiced it up a bit by using the active_branch() function but everything was pretty much boilerplate Laravel.
But when we want to change branches, we need state that can live across requests and thus, connections. Laravel makes a new connection to the database for each request. In Dolt, you can switch branches in a few ways, each scoped to the connection. You connect to a branch, with the default branch being connected to if no branch is listed. You can switch branches for that connection but when you reconnect, you go back to the default branch.
Let's go over the ways you can switch branches in Dolt and how this would work with Laravel.
call dolt_checkout(<branch>)- This changes the branch for the connection. Laravel uses a new connection for each request so we can't just call it once to change the branch.use <database>/<branch>- This is similar todolt_checkout(). It switches the branch for that connection but it uses standard use syntax so it's sometimes easier to integrate with tools. For every database connection, the first thing Laravel does is issue ause laravelor whatever the database name is listed as in your.env. So any attempt to change this is going to get overridden on the next request, similar tocall dolt_checkout().- Put
<database>/<branch>in your connection string - This is generally the easiest way to integrate Dolt with most tools as many have hooks to dynamically change what database you are connecting to. Laravel has these hooks too. If you putlaravel/branchin your.envfile, Laravel happily connects to thebranchbranch. But how do we dynamically modify that value? You can do that by settingconfig(['database.connections.mysql.database' => 'laravel/<branch>']);and runningDB::purge('mysql'). But we still have the problem that Laravel reloads the value in.envfor every request.
So, we need some global or user specific state for branches and a handler to set the branch for every request. Laravel has the concept of a session which I think is the perfect place to store this information across requests.
Now that we have the explanation out of the way, let's write some code. We start by exposing the update route.
Route::resource('branches', BranchController::class)
    ->only(['index', 'store', 'destroy', 'update'])
    ->middleware(['auth', 'verified']);
We set the active branch in the session in the update method of BranchController and redirect to the branches index so we can see it changed.
public function update(Request $request, Branch $branch): RedirectResponse
{
  $request->session()->put('branch', $branch->name);

  return redirect(route('branches.index'));
}
Then we add a Use item in the branch dropdown.
...
                                 <x-slot name="content">
                                     <form method="POST" action="{{ route('branches.destroy', $branch) }}">
                                            @csrf
                                            @method('delete')
                                            <x-dropdown-link :href="route('branches.destroy', $branch)" onclick="event.preventDefault(); this.closest('form').s\
ubmit();">
                                                {{ __('Delete') }}
                                            </x-dropdown-link>
                                     </form>
                                     <form method="POST" action="{{ route('branches.update', $branch) }}">
                                            @csrf
                                            @method('patch')
                                            <x-dropdown-link :href="route('branches.update', $branch)" onclick="event.preventDefault(); this.closest('form').su\
bmit();">
                                                {{ __('Use') }}
                                            </x-dropdown-link>
                                     </form>
                                 </x-slot>
...
Now, we make sure it works by reading the session branch not the database active branch when rendering the branches index page.
public function index(): View
{
    return view('branches.index', [
      'branches' => Branch::all(),
      'active_branch' => DB::Select('select active_branch() as active'),
      'session_branch' => session('branch')
    ]);
}
- @if ( $branch->name == $active_branch[0]->active )
+ @if ( $branch->name == $session_branch )
Yay it works! I can store the branch across sessions. Now, I need to make the branch in the session the one used by the database.
To do this, I need some Middleware to "inspect and filter HTTP requests entering my application". Whenever a request comes in, I need to change the database to the branch listed in the session.
I start by creating a setActiveBranch middleware.
$ php artisan make:middleware setActiveBranch

   INFO  Middleware [app/Http/Middleware/setActiveBranch.php] created successfully.
Then I define my middleware using the connection string method being careful to do the right thing if no branch is listed in the session.
<?php

namespace App\Http\Middleware;

use Closure;
use Illuminate\Http\Request;
use Symfony\Component\HttpFoundation\Response;

use Illuminate\Support\Facades\DB;

class setActiveBranch
{
    /**
     * Handle an incoming request.
     *
     * @param  \Closure(\Illuminate\Http\Request): (\Symfony\Component\HttpFoundation\Response)  $next
     */
    public function handle(Request $request, Closure $next): Response
    {
	$active_branch = session('branch');

	$database = 'laravel';
	if ( $active_branch ) {
	   $database .= "/$active_branch";
	}

	config(['database.connections.mysql.database' => $database]);
	DB::purge('mysql');

        return $next($request);
    }
}
I add my new middleware to the chirps and branches routes so those will use the active branch in the session.
Route::resource('chirps', ChirpController::class)
    ->only(['index', 'store', 'edit', 'update', 'destroy'])
    ->middleware(['auth', 'verified', setActiveBranch::class]);

Route::resource('branches', BranchController::class)
    ->only(['index', 'store', 'destroy', 'update'])
    ->middleware(['auth', 'verified', setActiveBranch::class]);
Then I revert the change I made to the branches blade template to show the session branch instead of the active branch.
- @if ( $branch->name == $active_branch[0]->active )
+ @if ( $branch->name == $session_branch )
And, lo and behold, I have a working branch-able Chirper App.

Merging Branches
What are branches without merges? Let's build merge on top of the dolt_merge() procedure.
First, we add a merge route. It's a bit more complicated because it requires two parameters: a base and merge branch.
Route::get('branches/{basebranch}/merge/{mergebranch}', [BranchController::class, 'merge'])
   ->name('branches.merge');
Then, we define the merge logic in the BranchController using dolt_merge().
public function merge(Request $request): RedirectResponse
{
$basebranch = $request->basebranch;
$mergebranch = $request->mergebranch;
DB::unprepared("call dolt_merge('$mergebranch')");
return redirect(route('branches.index'));
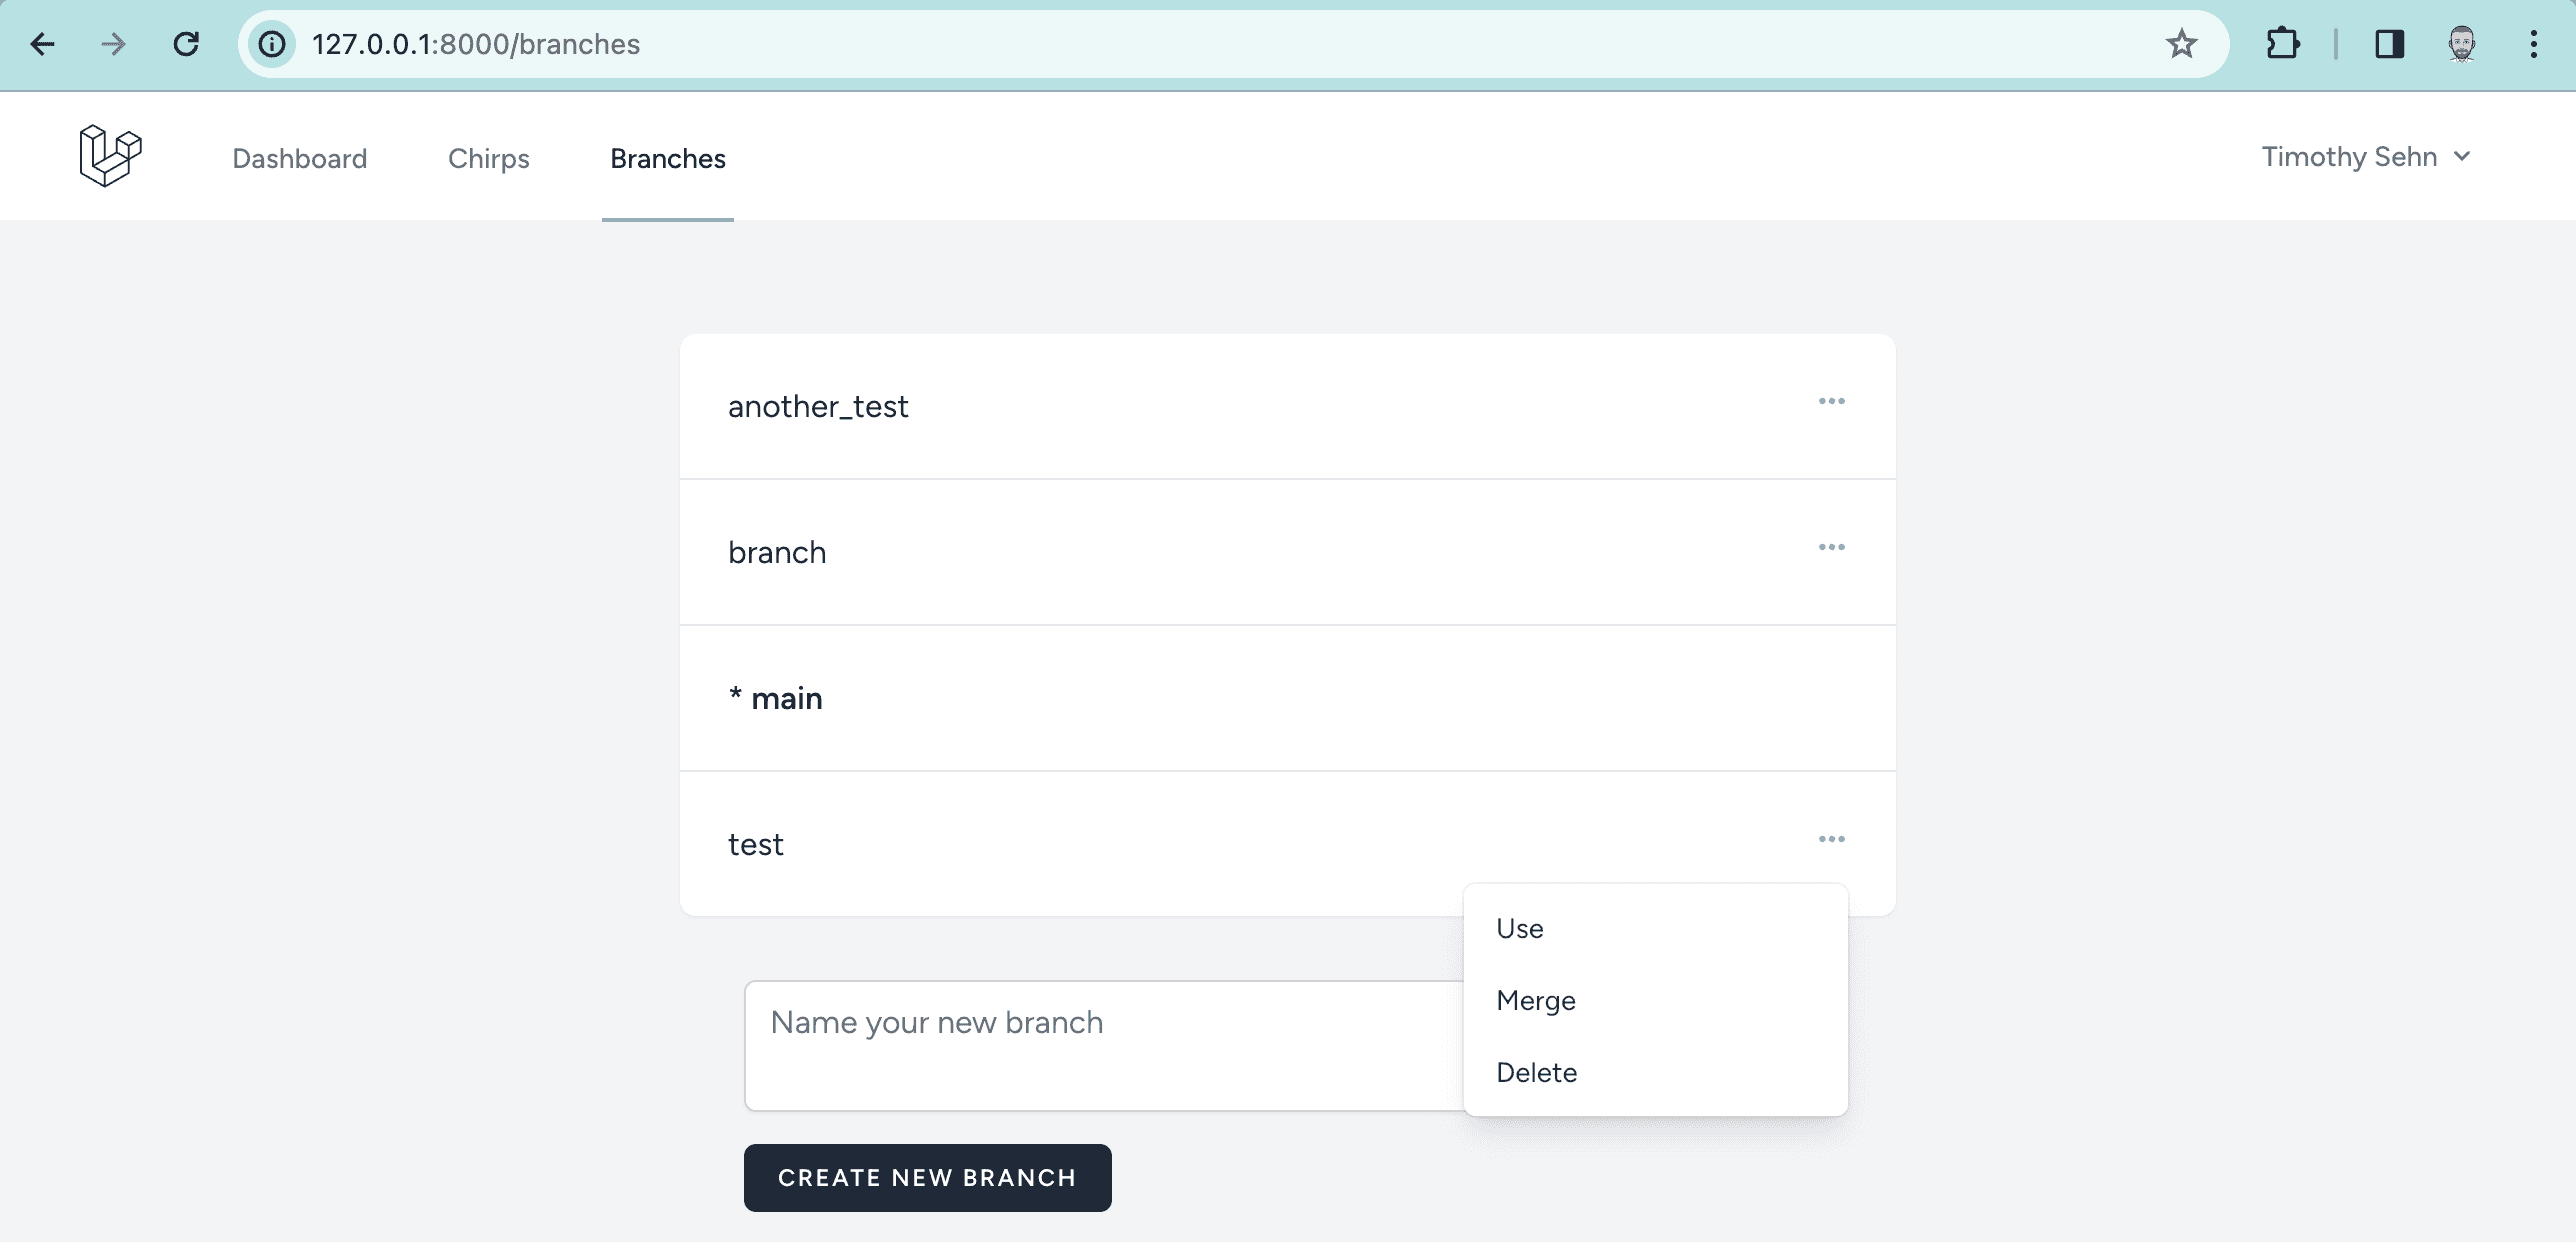
}And finally, we add a merge link in the dropdown for branches we aren't on.
<x-dropdown-link :href="route('branches.merge', [$active_branch[0]->active, $branch->name])">
    {{ __('Merge') }}
</x-dropdown-link>
Now you have a merge button! You'll have to test it yourself to see it works.
Try it Yourself
Screenshots don't do the branch-able, merge-able Chirper justice, try it for yourself. If you haven't been building along with this blog, follow these steps to get it working on your machine. Branches really show well in this example.
- Install Dolt, PHP, and Composer
- Clone My Chirper Repository and
cd chirper - Make sure it knows chirper is a Laravel project
$ composer install- Start a Dolt Server and make a
laraveldatabase - Set up your Laravel
.env
$ cp .env.example .env- Run the migrations
$ php artisan migrate- Start Vite.
$ npm install
$ npm run dev- Make a key
php artisan key:generate- Start Laravel
$ php artisan serve- Hit
localhost:8000, register and log in. Then navigate tolocalhost:8000/chirps. You should see the Chirper application with branches.
Possible Extensions
There's a bunch more we could do if we had some more time but this blog is already 3500 words. We could:
- Render the Commit Log on the Branches page
- Make the author of the Commit the author of the Chirp
- Render diffs between branches on a Diff page
- Implement a full Pull Request workflow
Conclusion
Phew. That was a lot. If you made it this far, congratulations. You are now ready to build your own Dolt application using PHP and Laravel. If this wasn't enough to get you started, come by our Discord and someone will help you out. If you want to talk to me, just @timsehn.